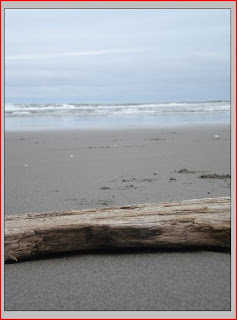
As you can see, the picture has a lot of combining tones and is just dull beyond belief. That day it was windy like none other. It was kinda cold too; a hoodie and some jeans were required. But this picture I loved.

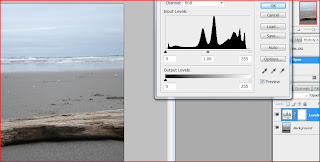
So what I did next was I went to my levels to change them. As you can see on the right hand side of the page, when you change the levels, it creates a new layer.

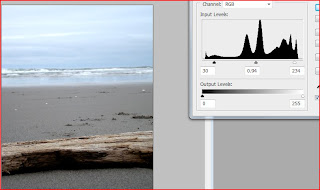
From there I just fiddled around with the levels. I brought in the darks so its a little clearer, mess only a little with the medium tones and then just a little from the lights. That way more detail would be seen thoughout the entire piece.

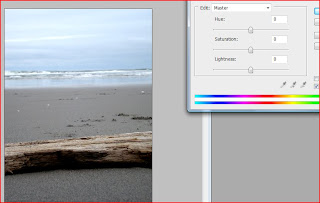
Now I wanted to make some things just a little more brighter of a color. Going in to Hues/saturation is the key for this. I used the Edit: Master to make the entire photo a different saturation. If someone wants to just adjust a certian color like blue, you would have to go up to Edit:Master and there is a selection for blue (or various other colors). If you don't know what classification a certian shade is, you can use the eyedroplets that are there above the 2 color lines. This will help you select a certian area in which you would want to change.


No comments:
Post a Comment