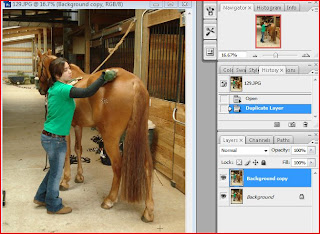
So the first step is to load up your image and then drag the "background" layer down to the bottom of the layer page and make a copy of it. Simple so far.

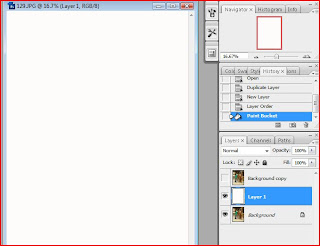
Now what you want to do is to create a new layer and put it between the two pictures (background and the copy) like what you see above. Now fill the whole first layer with white; you can use the paint bucket from your tools to get that.

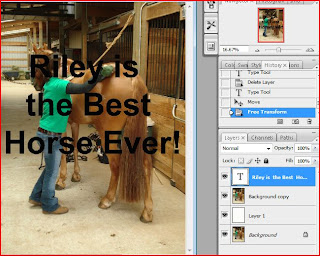
Now clicking back on the background layer, you click on the "T" tool (text tool). Now you write whatever you want. I choose to say that Riley is the best horse ever! (true fact actually; very sweet horse) You can do a free transform of it so that way it will fit how you want to ctrl+t (PC) or apple+t (Mac) *Note: make sure your text is bold enough so you will be able to see the background image. Cursive is not recommended

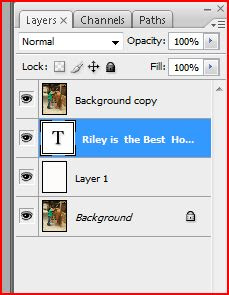
Now you must put that text layer below the background copy. It was above, now it must be below. This step insures that you will still be able to see the text when you move on to the next step. Now what you must do next, once you have that set up is to go to your layers bar up near the top of the screen and drag down and select the "create clipping mask" or you can hit alt+ctrl+g (PC) or symbol (don't have an equivilant on the PC)+apple+g (Mac). *Note: will be under the exact same layer selections so don't worry. It actually is sometimes difficult to find the right symbols to tell people for macs. O well, grew up on PC's and it seems to run these programs fine at this moment. Anyways, once you create that mask you will be in business.


Quite informative tutorial. thanks.
ReplyDeleteRegards,
photoshop masking