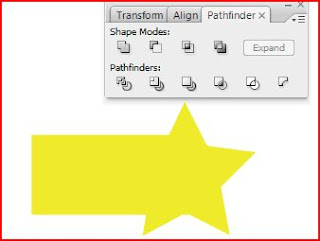
Anyways, all fakeness aside, I make a quick couple of items; A black rectangle and a yellow star. I placed them on top of each other and then selected them both. This little demonstration you see above is the result of me clicking the upper left corner "button" right below the words "Shape Modes". It is the Add to Shapes area. This combineds the two shapes together into just one. The color takes form from the top shape hence why you see yellow. If a person wants to make this just one object, the person must immediatly click on the "expand" button on the far right of the menu.

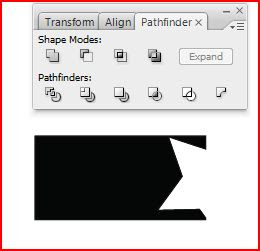
This is the second in on the left hand side of the top row. This is called the subtract from shape area. This minuses out the top layer and leaves only the remains of the top layer and the bottom layer. Again, right after clicking the button, a person can click on the expand button and make a single shape out of it.

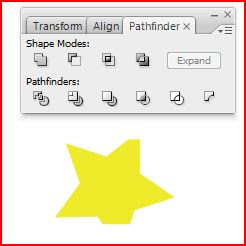
Third in from the left. Intersecting Shape Areas. This little button will take the overlapping parts of the objects you have selected and then making those overlapping parts the only parts you see. As you can see, two parts of the star are gone, you will see where they went in the next capture.

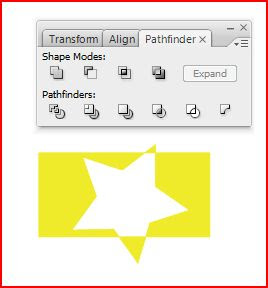
Last but not least, the Excluding Shape Areas. This creates the opposite effect of the above capture. It is taking the outside of the top shape and making it into an cutout.
Overall, in each of these pathfinders, a person can click on whatever shape area they want and then make it into its own shape by itself by just clicking the "expand" button. Love this little tool and will most likely use it a lot in the future.

No comments:
Post a Comment